Learn how to add photos, backgrounds, and templates in Encore.
Fonts
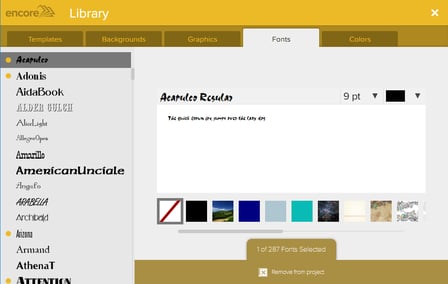
You can select the Fonts tab to see all available fonts.

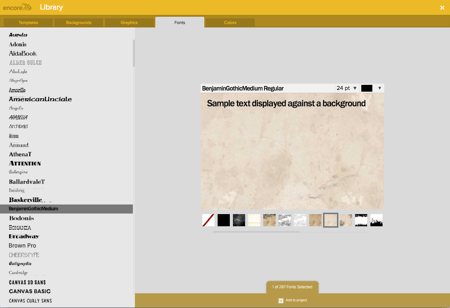
Selecting a font will show you a sample line of text in that font. You can also type in the specific text see what it would look like on the page. You can also select a sample background (seen along the bottom of the text window) to see what the text would look like against that background. The fonts activated for your project show a yellow dot next to the font name. You can add other fonts to the project by selecting a font and clicking Add to project.
Colors
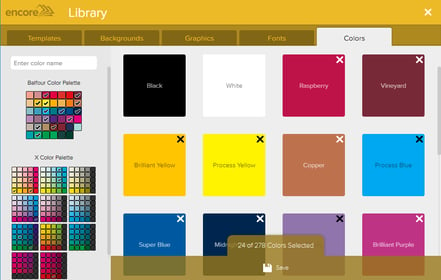
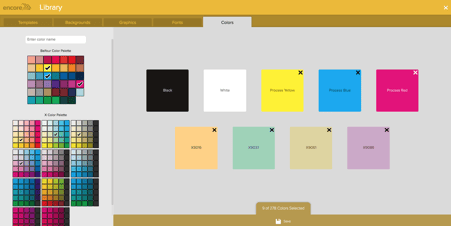
You can select the Colors tab to see all the available colors.
The column on the left shows all the available palettes. All the colors that were selected during the Setup process will show a checkmark. All these colors will be shown in the large window on the right. Black and white are selected by default and cannot be deselected. You can click the X on any of the color blocks to remove them from the project. Once you have made all the changes, click the Save button at the bottom to apply the changes to your project.
The Fonts and Colors tabs allow staff members to view the settings made by the Adviser in the Book Setup process.
Advisers can modify the yearbook’s default fonts and colors on this screen, which will update project defaults for all users.


