For easy access to StudioBalfour, it is best to give each of your staff members a unique login. Doing so allows for more control, individual page assignments and restricted access to parts of the StudioBalfour system. This article will give you instructions for adding or removing users.
To add new users, follow these steps:
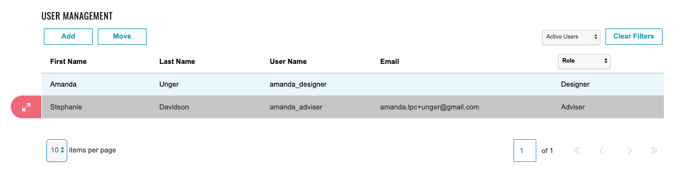
- Log in to StudioBalfour.
- Navigate to Manage > Project Users.
- Add individual users by entering their name and email address. Users will receive a registration email to set up their own password.
No email address available? Check the box next to "No email" to bypass the email confirmation, and set the user's username and password.
It is also possible to move users from last year's project into the current year's project. Instructions can be found in this article.
Deactivating Users
When a staff user needs to be removed from your project, follow these steps:
- Log in to StudioBalfour.
- Navigate to Manage > Project Users.
- Select the red Expand arrows next to the user you wish to deactivate.
- Scroll down and choose "Projects and Roles".
- Change the user's role from "Active" to "Disabled".