Welcome to Encore! Balfour's cutting edge yearbook creation software, built to work the way you and your staff work. In this article, you'll find an overview of how to get started with Encore.
This article will cover several topics. Use the links below to jump to a section.
- Book Settings Wizard
- Creating Staff Accounts
- Setting Deadlines
- Organizing Your Yearbook
- Customizing Page Properties
Book Settings Wizard
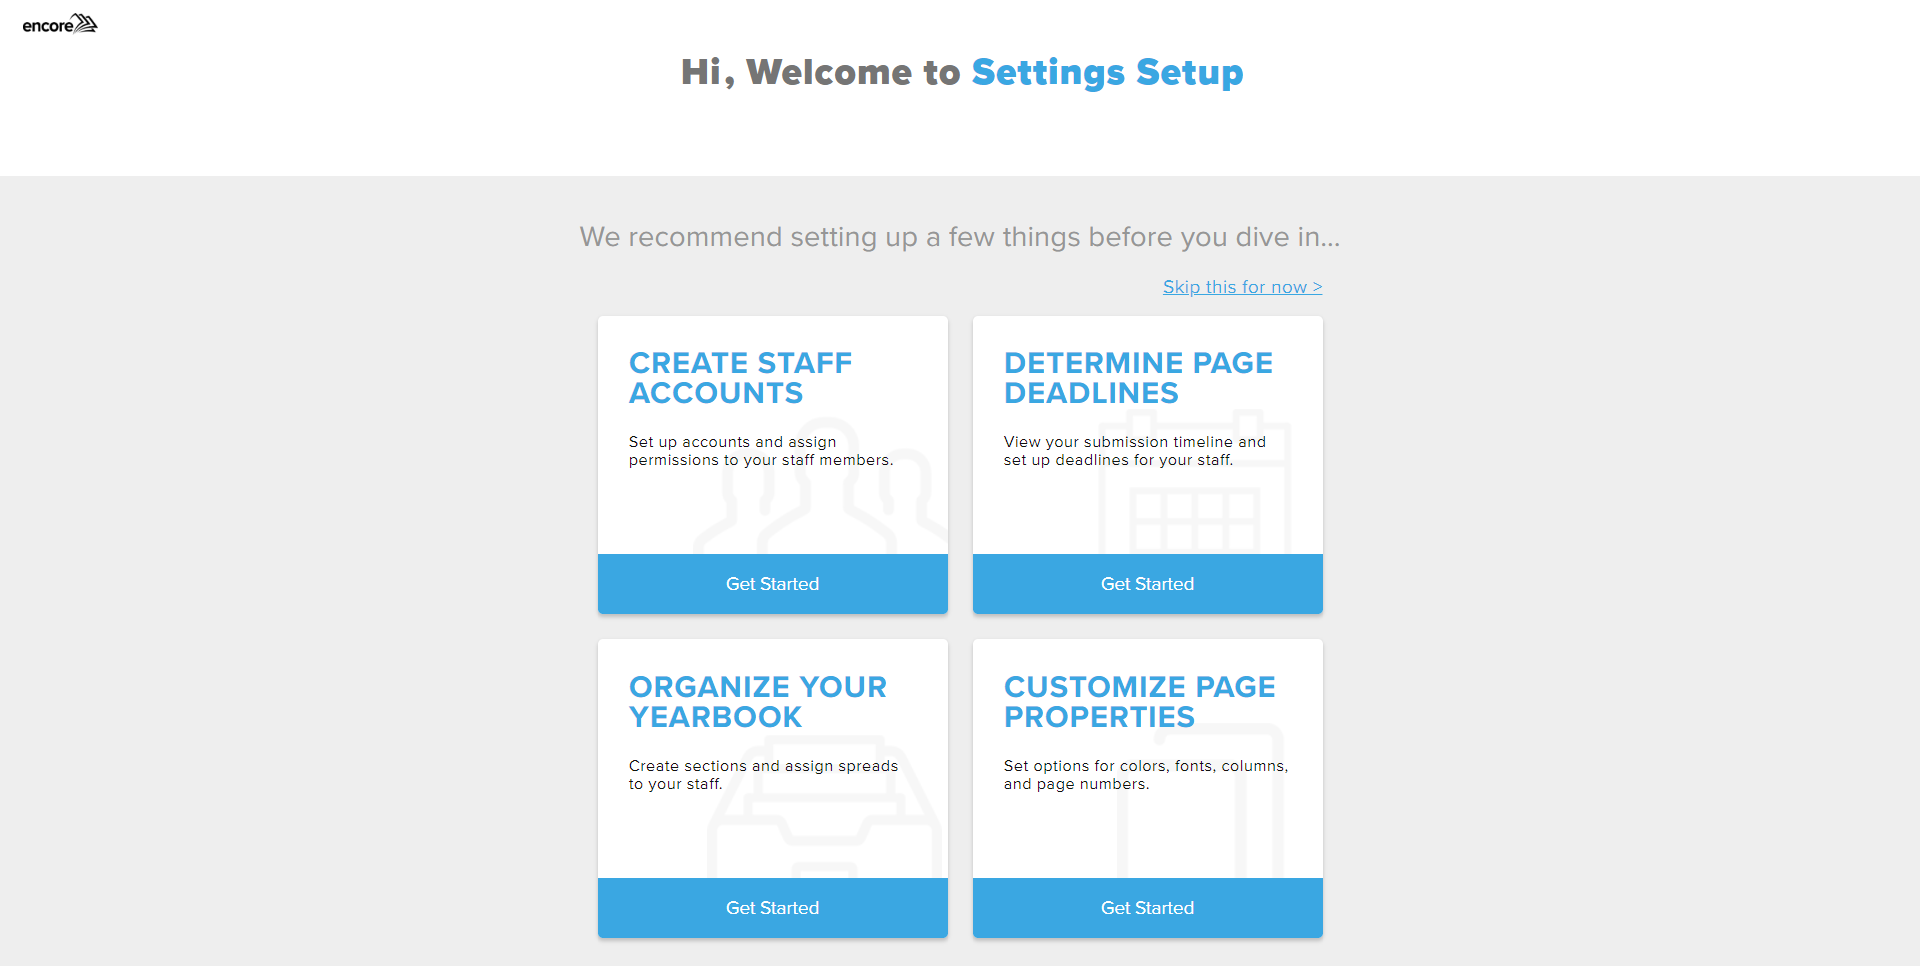
The Book Settings Wizard screen opens the first time an Adviser logs into a project. This tool allows advisers to set up the project specifications and defaults for their staff. Advisers can skip setup and return later to make edits to the defaults. There are four main components in Book Settings:
- Create Staff Accounts – view user accounts and permission levels
- Determine Page Deadlines – view submission timeline and create staff deadlines
- Organize your Yearbook – create sections and name spreads
- Customize Page Properties – set default options for colors, fonts, page numbers, etc.
Staff Accounts and Permissions
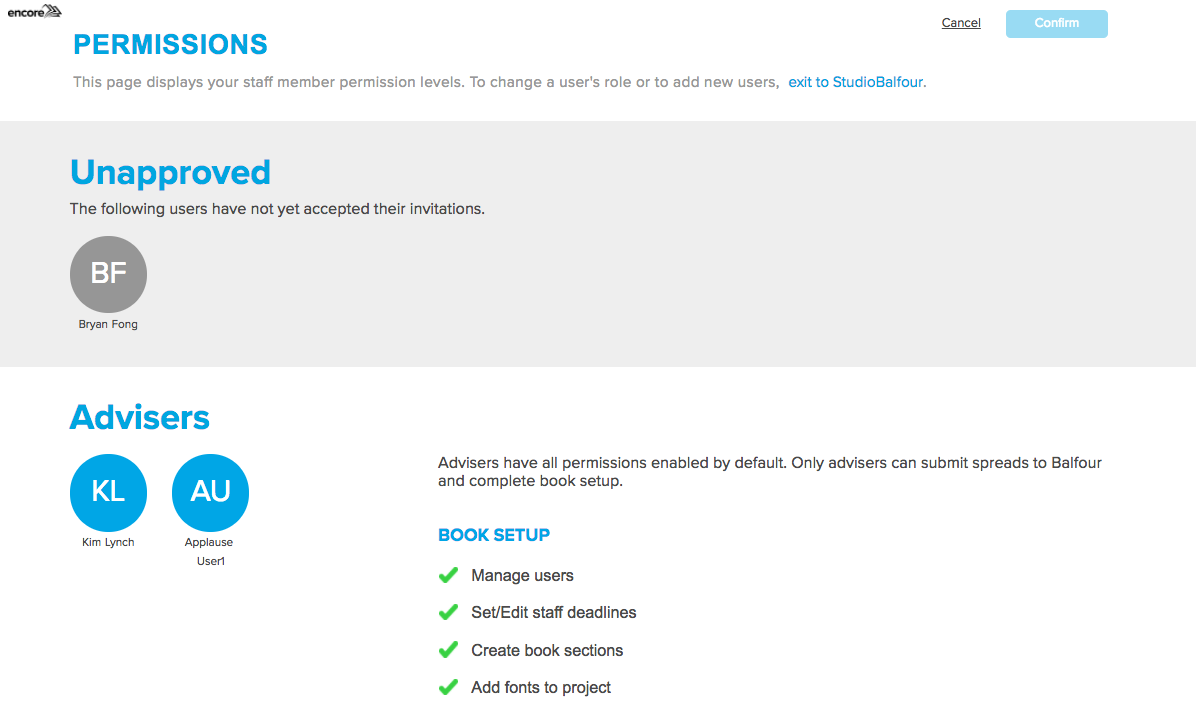
The Create Staff Accounts screen allows advisers to view each user’s permission levels. Advisers have the highest level of access, and all their permissions are enabled by default, including the ability to add new staff members to a project. For new users to access Encore, you must first add them as users in StudioBalfour.
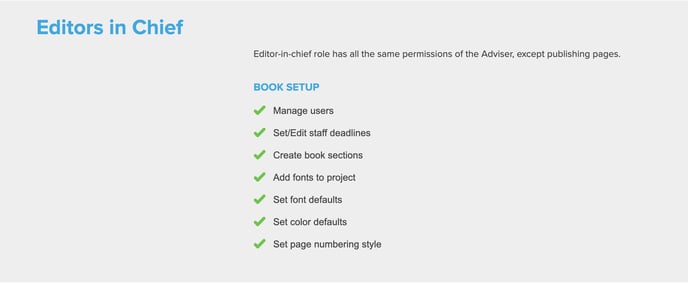
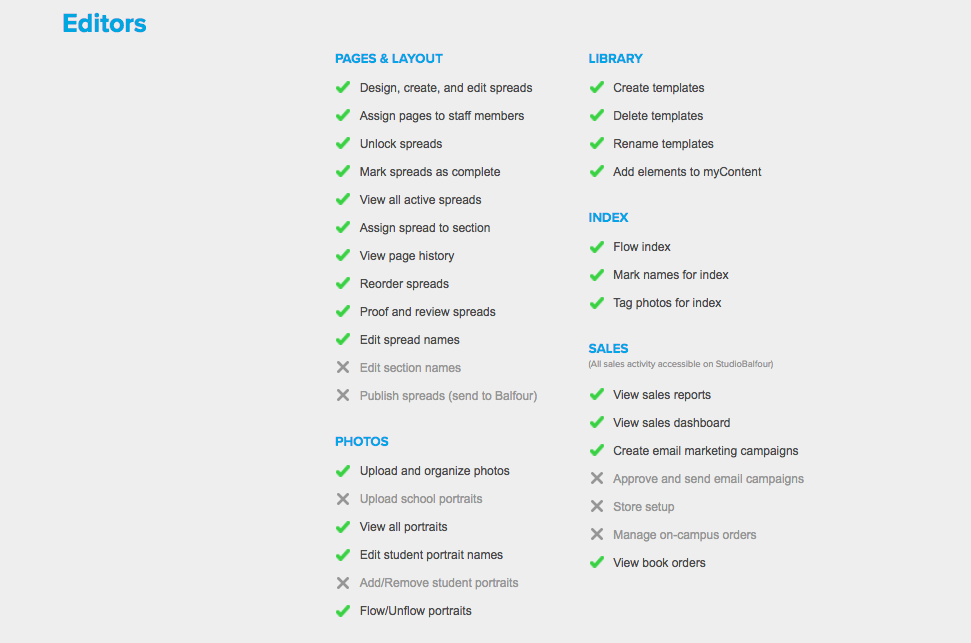
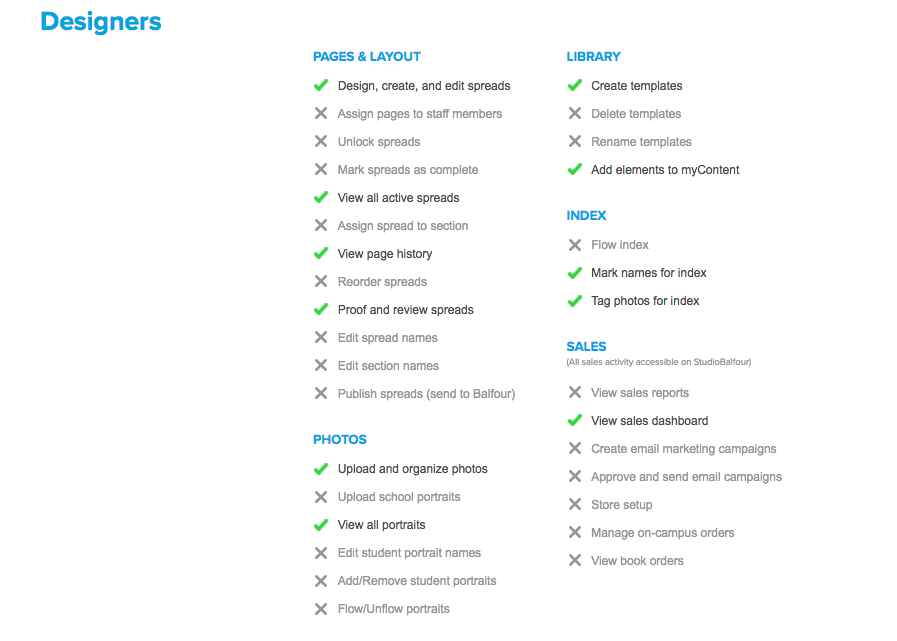
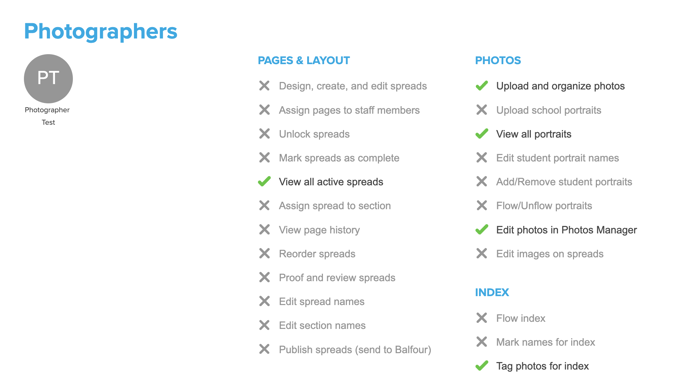
Advisers assign roles to staff members as they create new accounts in StudioBalfour. The permissions and capabilities of each role—Editor in Chief, Editor, Designer and Photographer—are indicated on the “Permissions” screen with green checkmarks in the screenshots below.
Unapproved users listed at the top of the screen have been invited to register, but have not setup of their user name and password at StudioBalfour.
Setting Deadlines
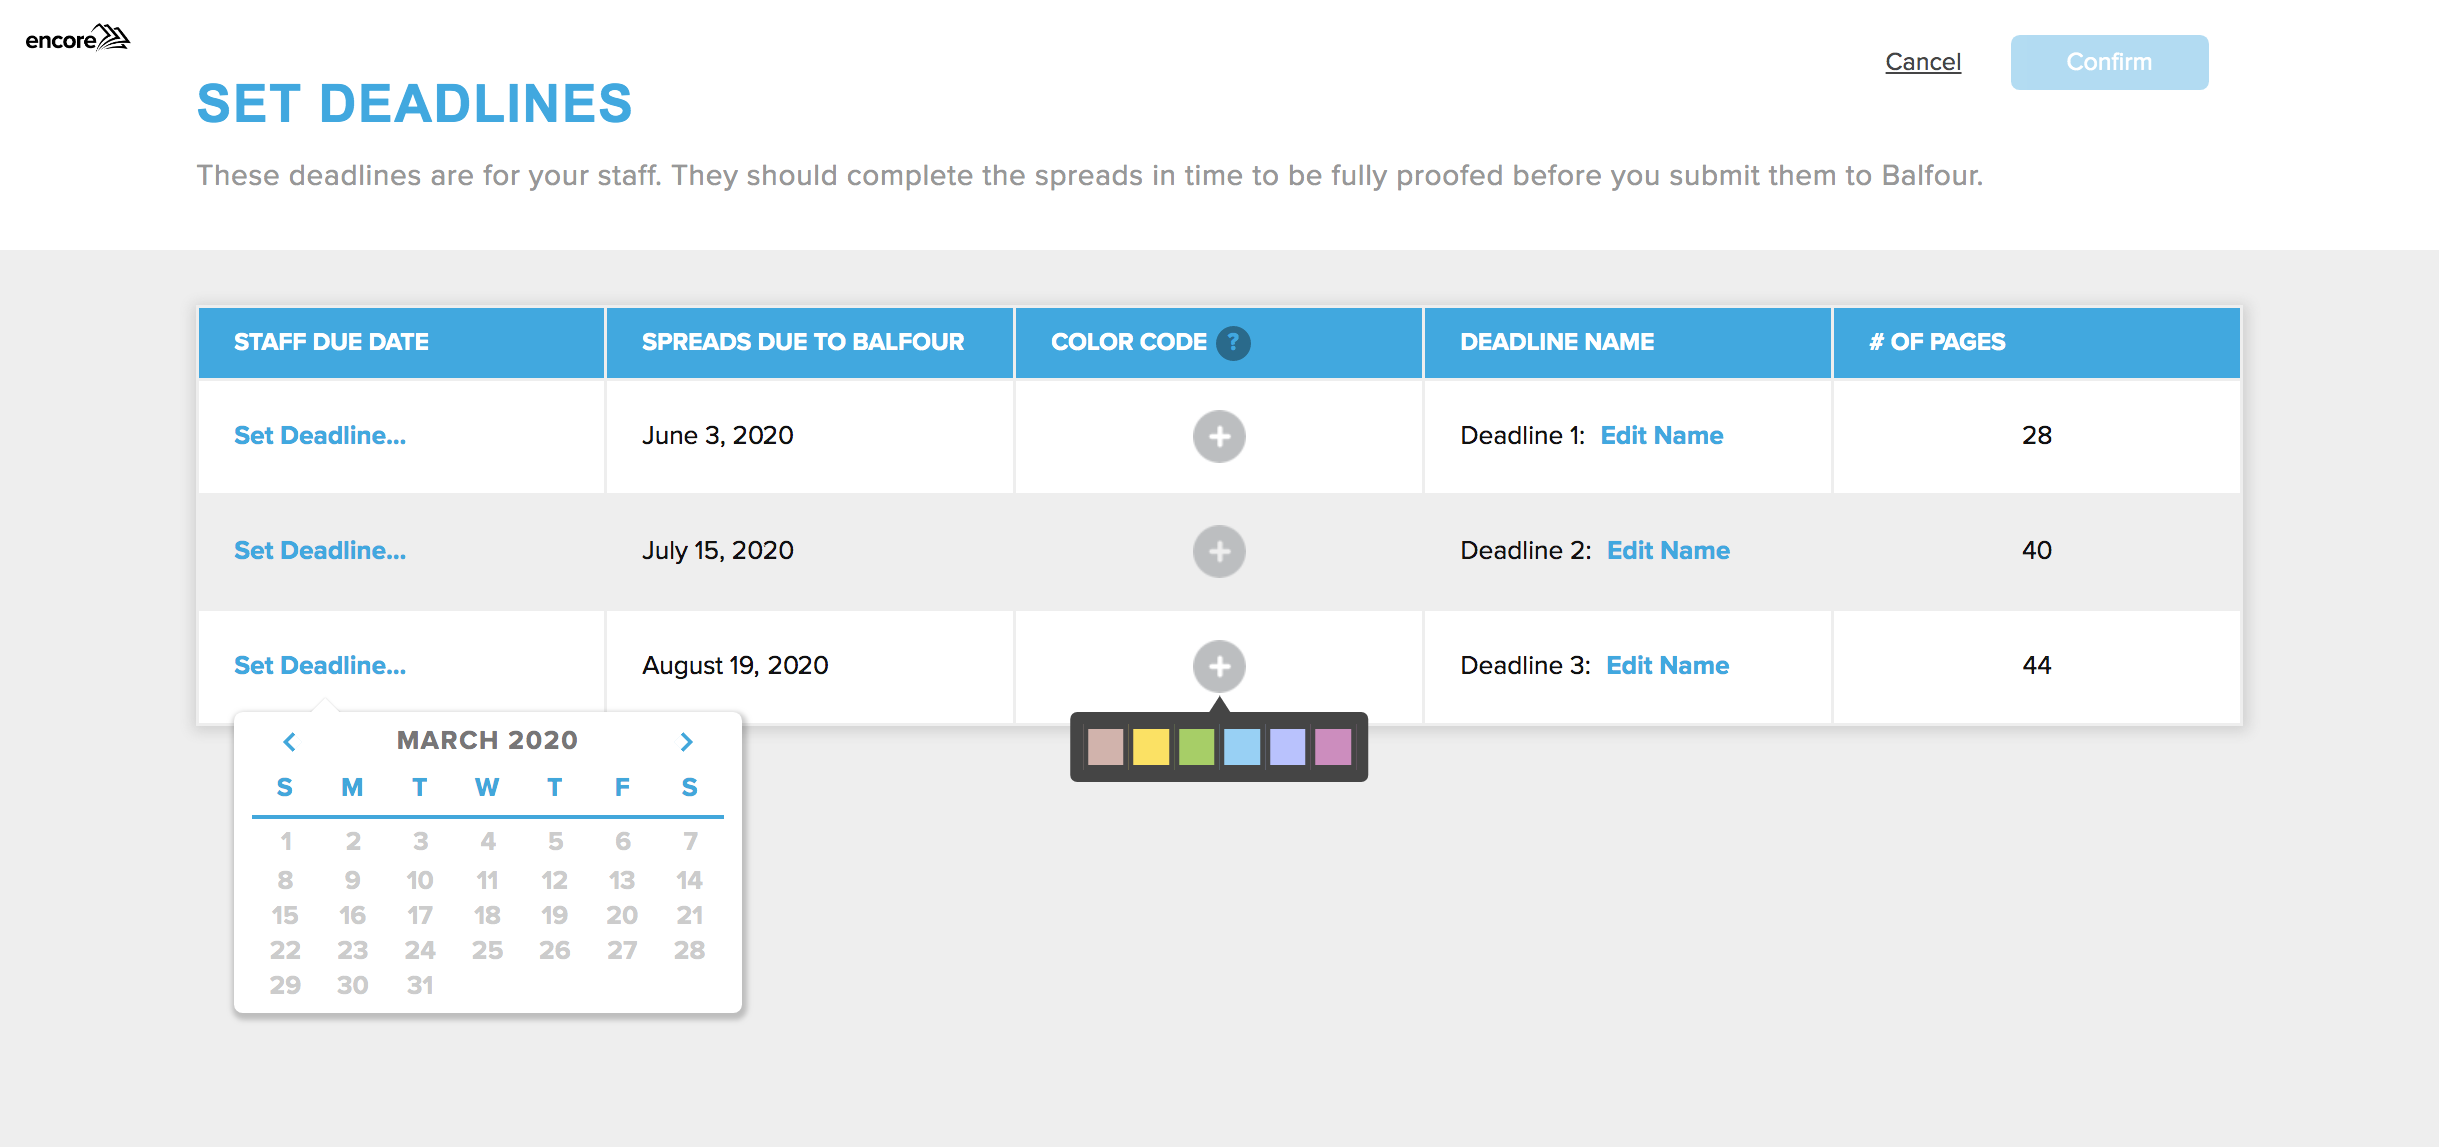
The Set Deadlines screen allows advisers to customize deadline names and due dates for staff members. By default, Balfour’s required submission deadlines are pre-populated on this screen. Advisers can use this information as a guideline when setting up spread deadlines for their staff.
When setting staff deadlines, it is advisable to take into consideration the amount of time it takes for spreads to be reviewed and revised before the Balfour submission date. You also have the ability to color code each deadline.
Click on the Set Deadline link to view a calendar of available dates. When all the dates are set, clicking Confirm in the header will set the spread deadlines.
Organizing Your Yearbook
The Organize Your Yearbook screen allows advisers to view and manage the book sections, deadlines and staff assignments, all in one place.
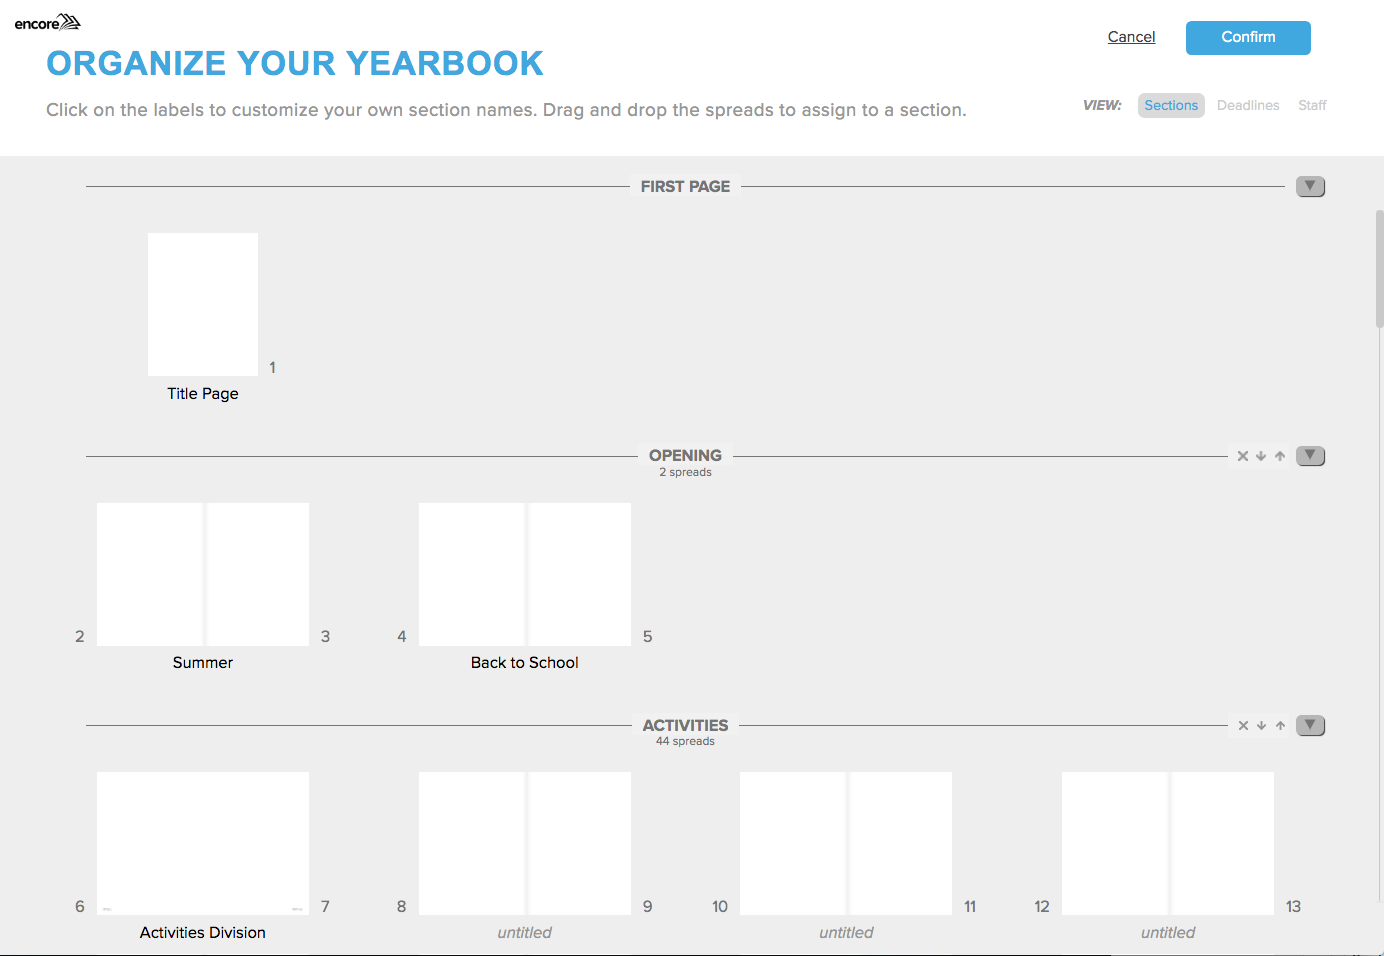
The Section view shows a clear overview of spread topics assigned to each section of the book. Add a title to a spread by double-clicking on the untitled field below the spread. The titles of photo Collections are created from these spread names to aid in photo management.
To create a new section, click on the plus icon (+) at the bottom of the default book section. Drag single or multiple spreads to different section names to move spreads to that section. Page numbers are updated automatically.
Click the “x” to delete an entire section. All spreads must be removed from a Section before deleting. Use the arrows in the section header to reorder sections. The triangular caret icon allows individual section views to be minimized.
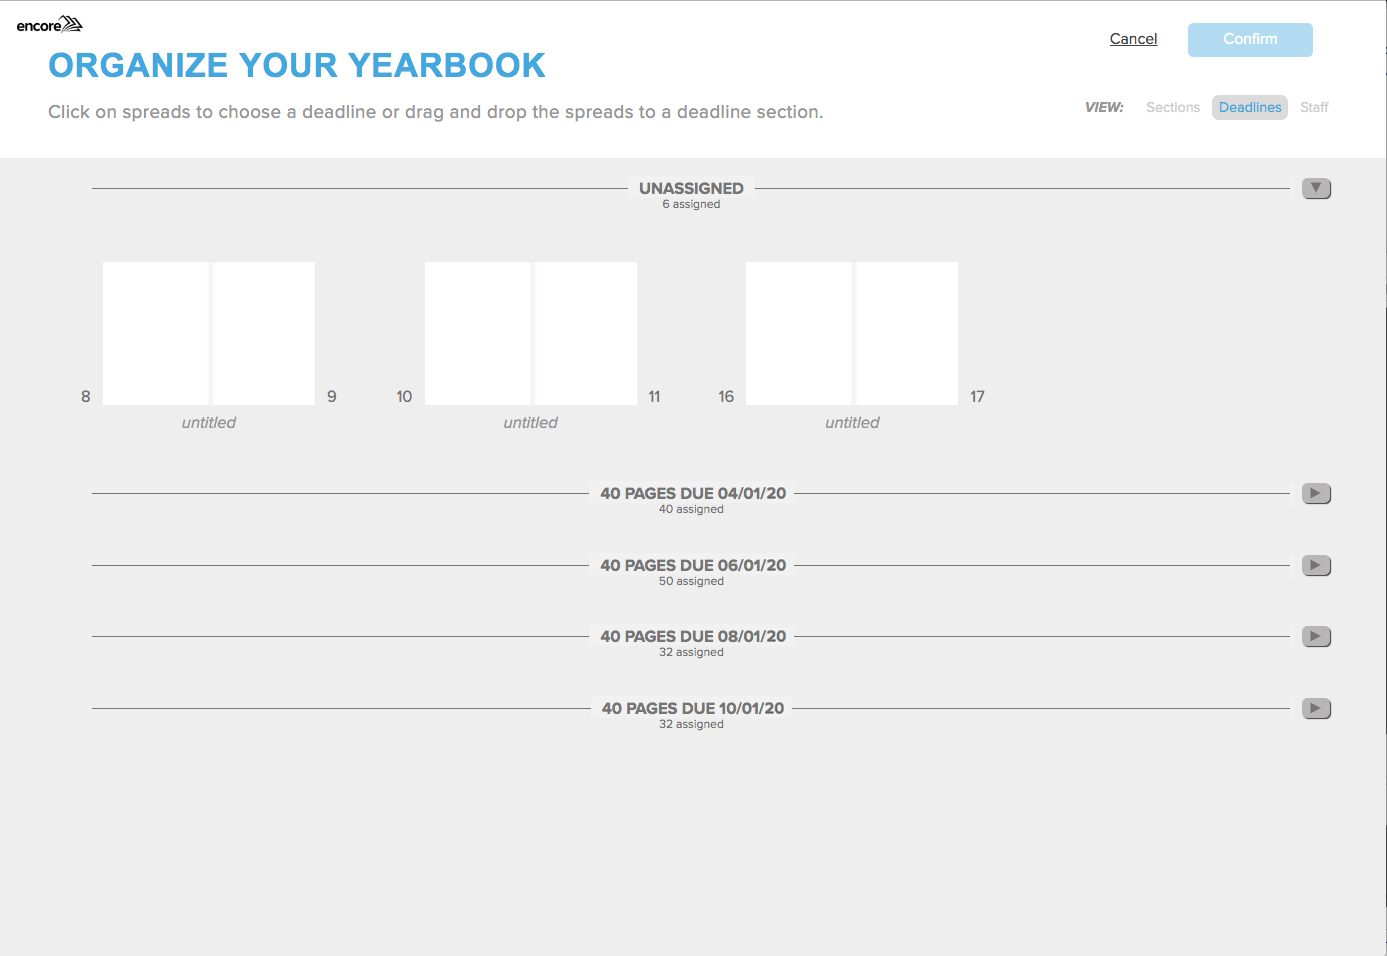
The Deadlines are set in step two of setup (see Set Deadlines on page 4). To assign single or multiple spreads to a specific deadline, select and drag to that deadline group. Spreads not assigned to a deadline will remain in the Unassigned category.
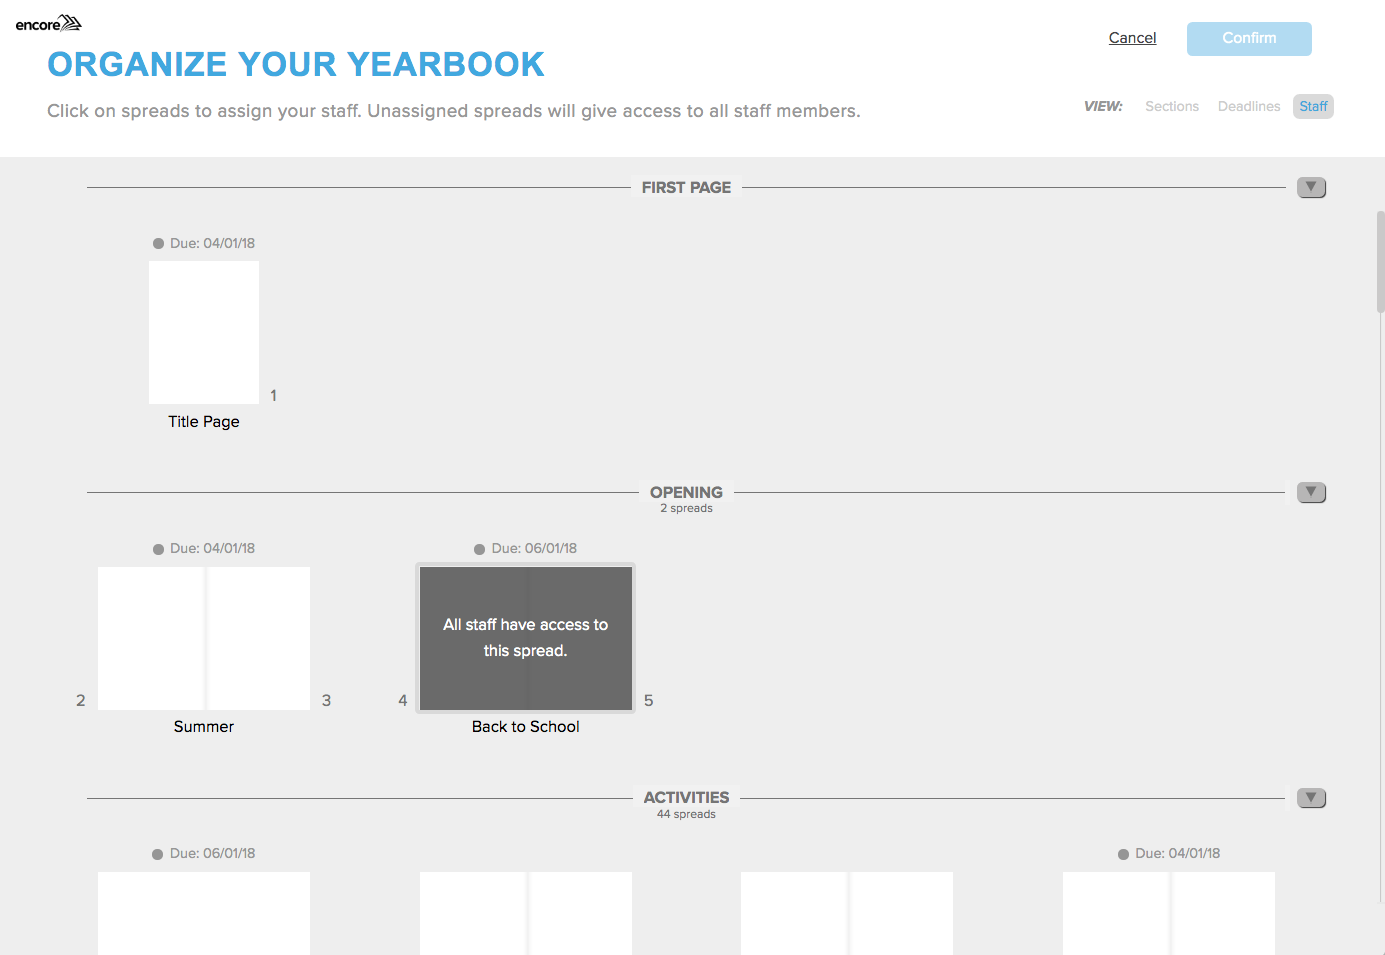
To assign staff members to a spread, select the spread(s) in the Staff view and choose the student from the available list at the bottom of the window.
Click Confirm in the header to save changes to the book setup.
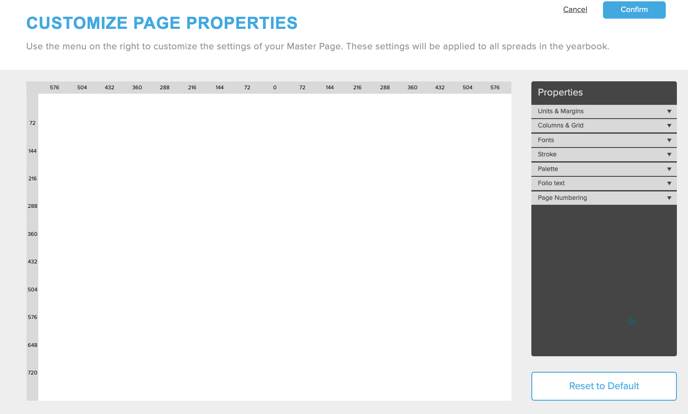
Customizing Page Properties
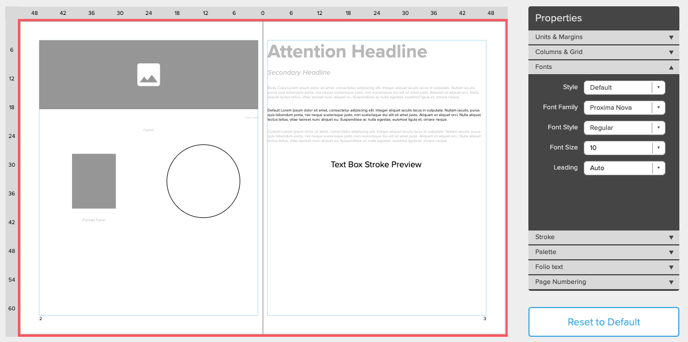
Customize the page settings for your yearbook staff by choosing default units & margins, columns & grid, fonts, color palettes, and page numbers. This screen will display a live preview of each setting as you change options using the Properties menu on the right. Select Reset to Default to remove any changes made to each section of page settings. Choosing Cancel exits without saving any changes. Advisers can return to edit book settings at any time.
Units & Margins
Select the Units & Margins to see the default settings for this option. You can click the up and down arrows to adjust and customize the page margins and the gutter.
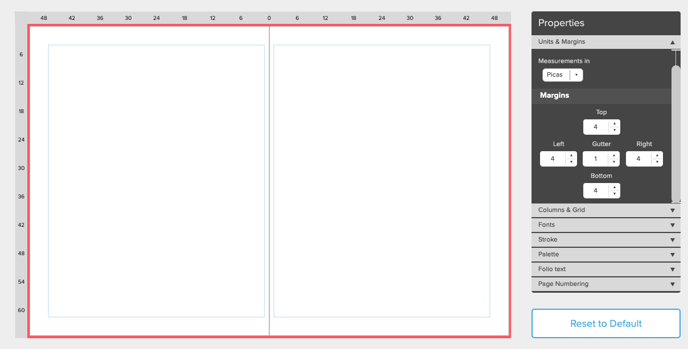
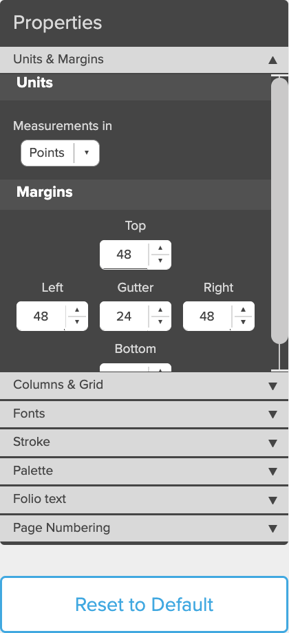
Select the unit of measurement. You can select inches or picas.
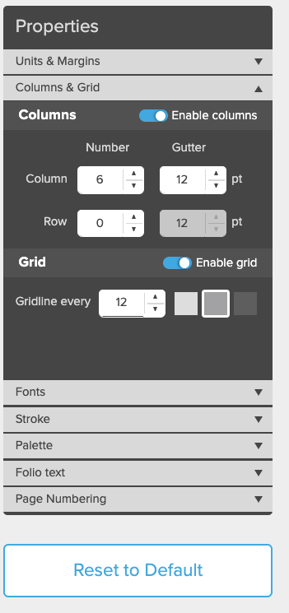
Columns & Grids
The default setting is four columns. You can choose the number of columns or rows you need on the page with the up and down arrows.
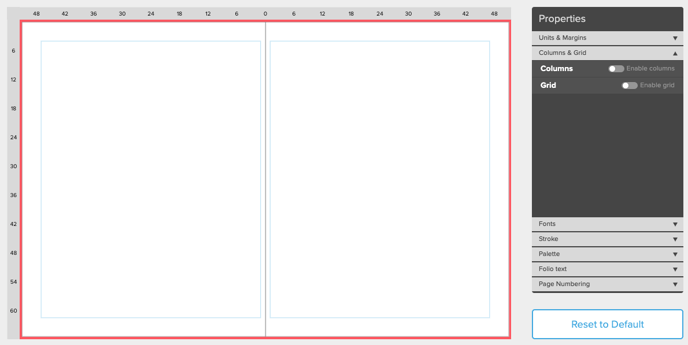
You can enable the Grid option to see a grid on the page. This will help you align the various elements on the page. You can also choose the color of the grid lines.
 .
.
Fonts
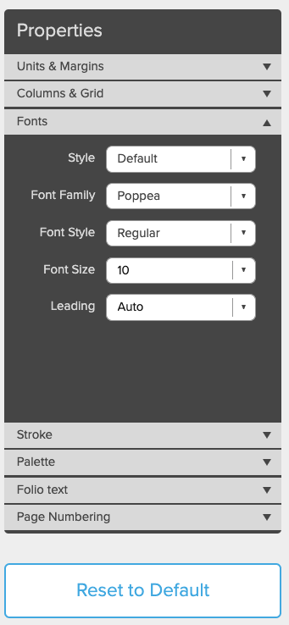
Select the specific paragraph style you want to customize, then choose the font family, font style, and size. Use this tool to determine all paragraph styles for the yearbook: headline, subhead, body copy, caption and photo credit.
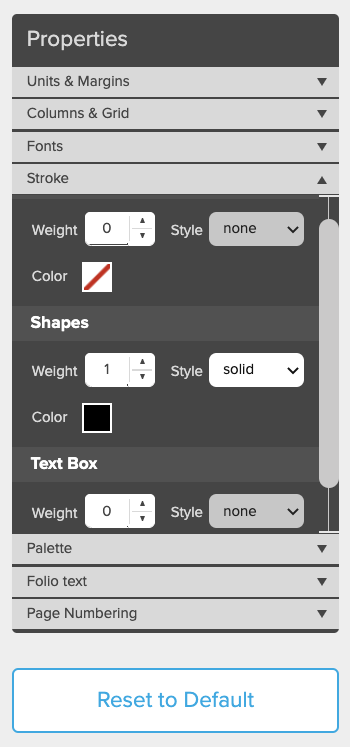
Stroke
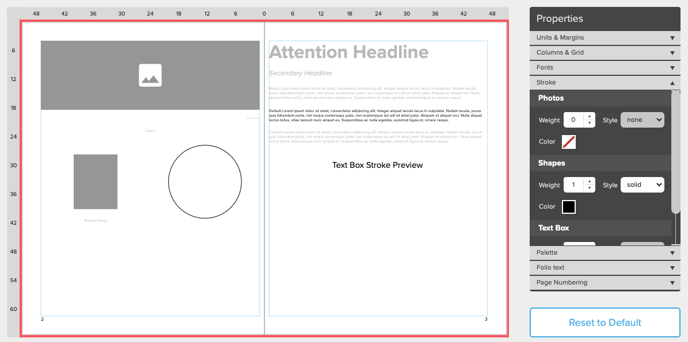
Customize stroke properties for photos, shapes and text boxes.
Palette
Encore offers a wide variety of colors to add to your customized palette.
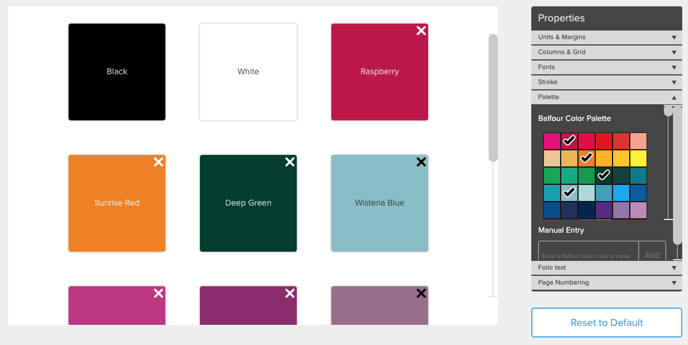
Choose a color by selecting it on the palette in the Properties menu on the right-hand side of the screen. These colors will be available for use by your yearbook staff. Black and white are automatically added to your project.
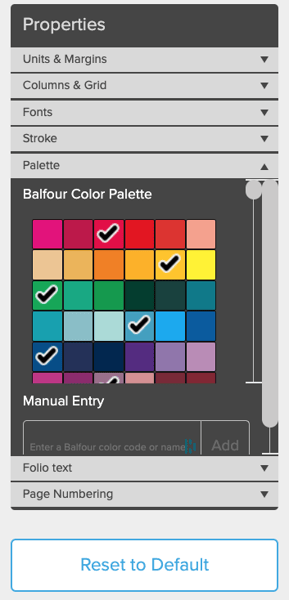
Note: Colors may vary depending on your monitor. Consult the color poster from your kit for an accurate representation of your color choices.
Colors can also be entered by typing in a name or value from Balfour’s color poster. Enter the Balfour color code or name in the box to add colors to your project.
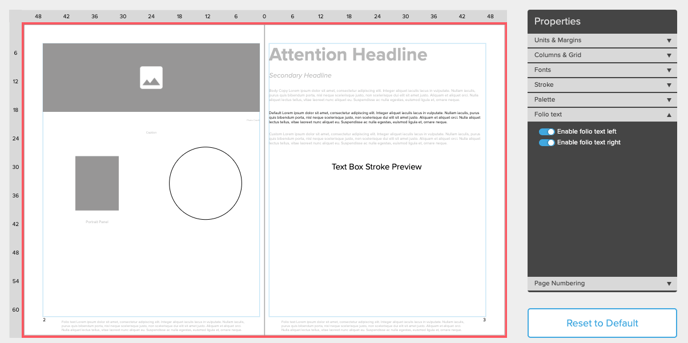
Folio Text
The folio text tool allows you to toggle on left and right page folio text boxes that are customizable in the page editor.
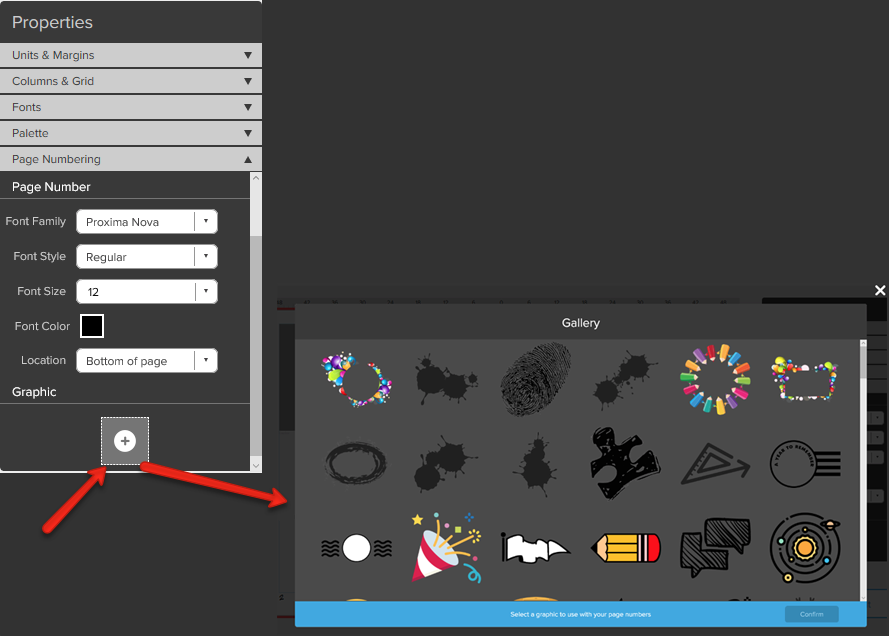
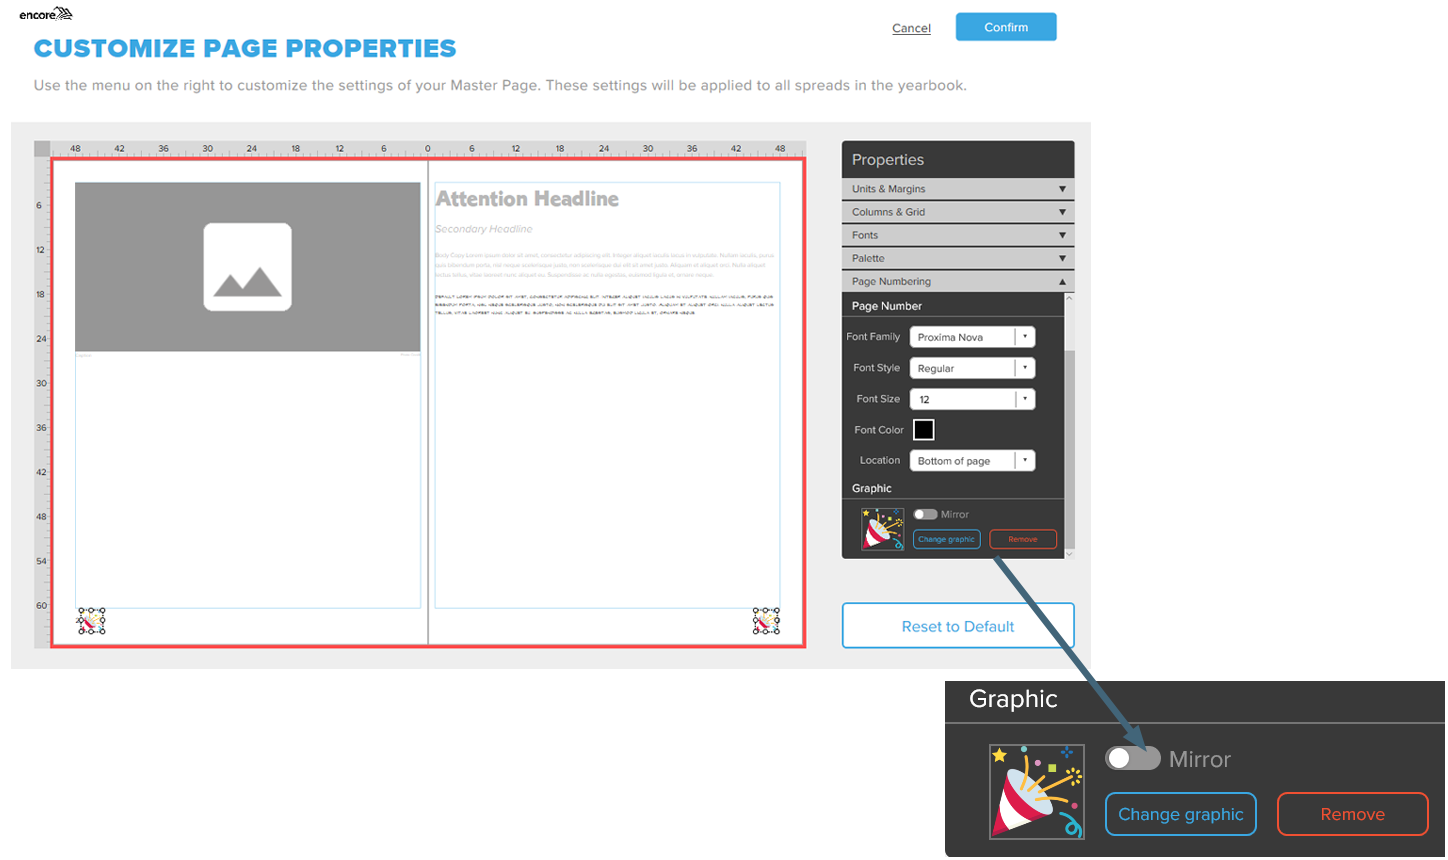
Page Numbering
The Page Numbering tool allows you to customize the location and design of your page numbers.
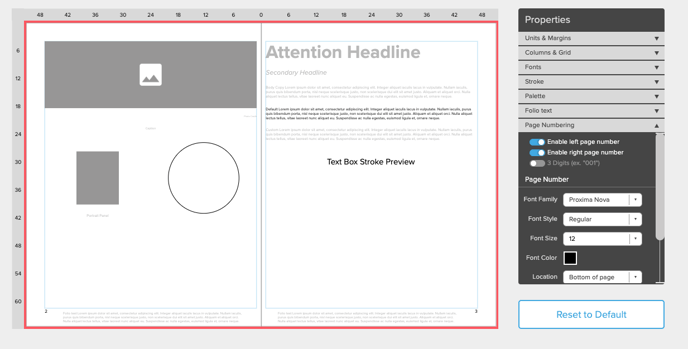
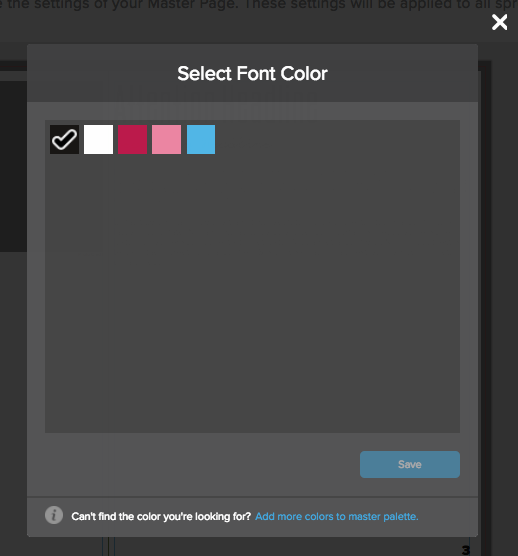
Customize the font, style, size, location and color of page numbers. When clicking on the Font Color menu, all the options you selected from the previous color palette menu will appear.
Select the default color of your page numbers using the Font Color option.
Page number options set up on this page are applied to the whole yearbook. Users can override these page number defaults on any individual spread as necessary.
Add a Graphic to the Page Number
To add a graphic to your page number, click on the add icon (+).
After selecting a page number image, use the tool to:
- Manually resize the graphic
- Select image mirroring options
- Make final adjustments to placement and location